
For a variety of reasons, people look to bury supplies or create a cache. These reasons range from security to pre-positioned supplies along a planned travel path. Caches can be buried or even stashed at a friend’s house. These caches can contain a massive amount of supplies or just a few small items. That’s the beauty of it. You can customize a cache to be whatever you want it to be.
The following example is a small cache using a MTM Survivor Cache.

Contents:
Taurus G2 9mm pistol
3 – 12 round magazines
100 rds. 9mm ammunition
cup
bottle of Rem-Oil gun lubricant
Bic Lighter(maybe a couple)
*******NOTE: Each item is individually bagged and all metal items well oiled
This cache just as well could have been made with a more durable container such as a .50 caliber military ammo can. Most would agree that using a plastic case such as the MTM Survivor raises the risk of damage from water and pests although it is extremely rugged.
This is merely an example of a cache. The combinations of containers and ingredients are endless.
Rourke
* * * * * * * * * * * *

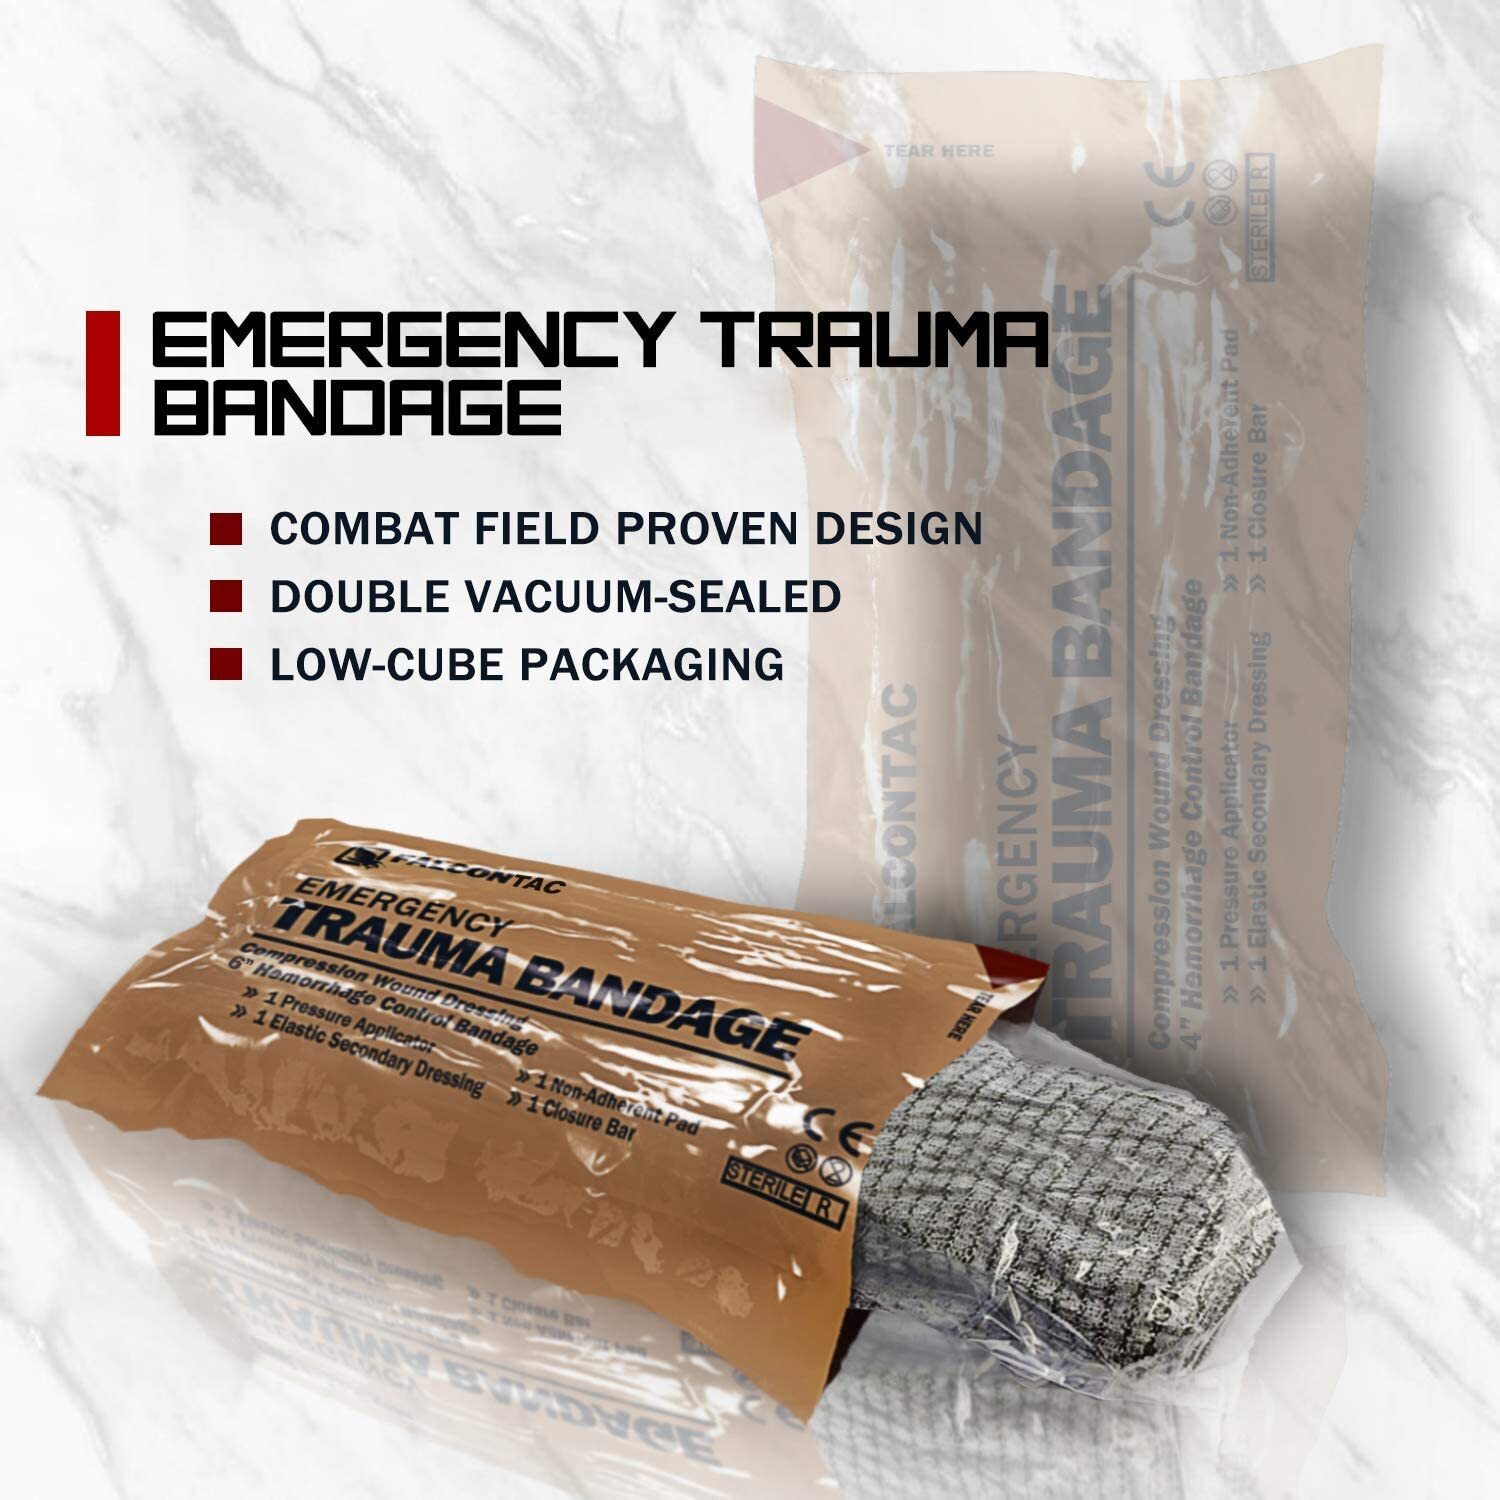
This Emergency Trauma Bandage is designed to stop bleeding from hemorrhagic wounds caused by traumatic injuries in a rapid, extremely effective, and easy way. Besides the combat field proven design, this trauma dressing bandage also provides large effective coverage with 5-years shelf life.
For First Responders, Military, Law Enforcement, and related fields, this compression bandage provides a fast, effective tool for many kinds of traumas and injuries (particularly those involving arterial bleeding in extremities).
Instruction for Use:
Step 1: Apply pad to wound and wrap the elastic bandage around limb.
Step 2: Slip the elastic bandage through V-notch of pressure applicator.
Step 3: Tighten elastic bandage to apply pressure to wound.
Step 4: Pull back to force pressure bar down onto the pad.
Step 5: Wrap bandage tightly over pressure bar and wrap over all edges of the pad.
Step 6: Secure hooking ends of the closure bar into elastic bandage.
Packaging and Brand May Vary Depending Upon Current Availability
Perfect for the bug out bag, survival kit, vehicle, and home.
Free Shipping On All Orders


I personally prefer the “Monovault” PR and I buries things 5-6 years previously and dug them up to find absolutely no change in the contents.
(Fair warning the area will change.. trees, rocks, soil.. and you will not be able to tell where it is precisely. Use of a geocache mapping scheme is a consideration). Mask the presence with junk metal above to discourage treasure finders. Choose a location not prone to soil erosion to expose the container over time. Put white grease on the rubber seal before closure,, Ammo Box or vault (rubber dry’s cracks and leaks otherwise). here’s a big one.. Put a length or polly-rope wrapped around the top in a coil. Getting it out if it stays for long, is very is much more work otherwise.
As to why we cache.. IMO resupply is chief among them. If something you need is elsewhere, it cannot be taken or destroyed wherever you are. Do think about backups of course.
GG58
I forgot to add “Zocorr” bags all but eliminate rust.. and the come in sizes so whatever you need. Vacuum packed with O2 Absorbers works as well..
All sounds good but the ground is the key here. Like were I live we have so many rocks and big ones too. It’s not the best place to dig deeply.