Tag: OFF GRID COOKING

  • SURVIVAL HACK: Obtaining Propane for Off Grid Cooking On The CHEAP!!

    SURVIVAL HACK: Obtaining Propane for Off Grid Cooking On The CHEAP!!

    I previously published this a few years ago and with new people visiting the site thought it would be a good idea to bring it back around. – Rourke

    Most people have some type of gas grill that operates on normal, everyday 20 lb. prone tanks. When the power goes out the gas grill suddenly becomes very important. Spare tanks are a great thing to have on hand, in quantity. Problem is to buy a new tank, and have it filled – you’re spending upwards of $50.

    Here’s a way to stock up on propane tanks and spend a little less:

    Used propane tanks can be found at yard sales, Craigslist, and on Facebook Marketplace. Prices as low as $5 each are not uncommon. Grab a few used propane tanks and then tank them to your local Walmart or propane service location and get them exchanged/filled.
    It’s important to know that propane tanks have to be recertified every 12 years. This means if you go buy a used tank and it is older than 12 years there is a good chance when you go take it to get filled they’ll reject the tank. If that occurs just take the tank to a grocery store – or Walmart – and exchange it for a newer tank. It is still cheaper than buying a brand new tank and getting it filled.

    I’ve brought up exchanging old out-of-date tanks before and been attacked by “Karen’s” who call this being dishonest and stealing. Let me go ahead throw this out there: An old tank received by the propane exchange company will simply be recertified, painted or wrapped, and then used. No big deal.
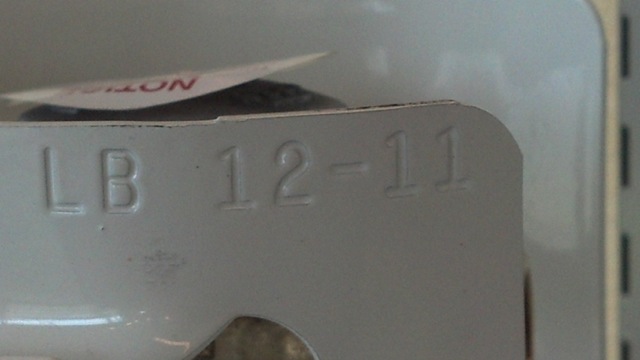
    If you are curious – here’s how to read the manufacture date of the tank:

    1. Locate the raised collar at the top of the propane tank.
    2. Find the “MFG DATE.” located along the collar.
    3. The first two numbers represent the manufacturing month, while the second two numbers is the year.

    So there you have. I’ve bought numerous tanks off Facebook Marketplace used and have built a very good supply.

    Happy grill’n!!!

    Rourke

    USE COUPON CODE “1776”

  • CanCooker Beef Stew

    CanCooker Beef Stew

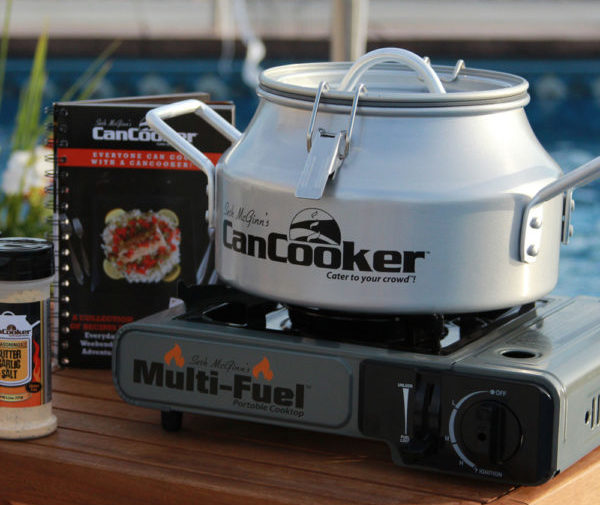
    I got a brand new CanCooker Companion for Christmas. I love to cook and especially love using a crockpot. Although this is not a crockpot in the sense that you can set it and forget it all day, it is however a way to throw everything in one pot with the added bonus of being able to use it on an open fire or grill. In the event of a power outage, it is definitely something you can use to feed your family. It is very similar to an Instapot except it is vented the entire time.

    There are 3 different sizes of the Can Cooker: The Companion which holds 1.5 gallons and feeds 6, the CanCooker Jr is 2 gallons and feeds 8, and the CanCooker Original holds up to 4 gallons and feeds up to 20. They all have a non-stick coating and have a variety of accessories that can be purchased separately. The rack that can be placed on the bottom is the next thing I would like so that I can bake things in my CanCooker. It would make a great Valentine’s Day gift (hint, hint)!

    For my first time using it I chose a fairly easy recipe from the CanCooker website.

    INGREDIENTS:

    • 2 lbs beef, cut into 1-inch pieces
    • 1 lb potatoes, cut into 1-inch pieces
    • 6 oz portobello mushrooms caps, cut into 1-inch pieces
    • 2 medium onions, cut into wedges
    • 2 cups fresh baby carrots
    • 1 (14-oz) can beef broth
    • 1 (14-oz) can diced tomatoes with Italian herbs
    • 1 cup Burgundy or Pinot Noir wine
    • ½ tsp pepper

    DIRECTIONS:

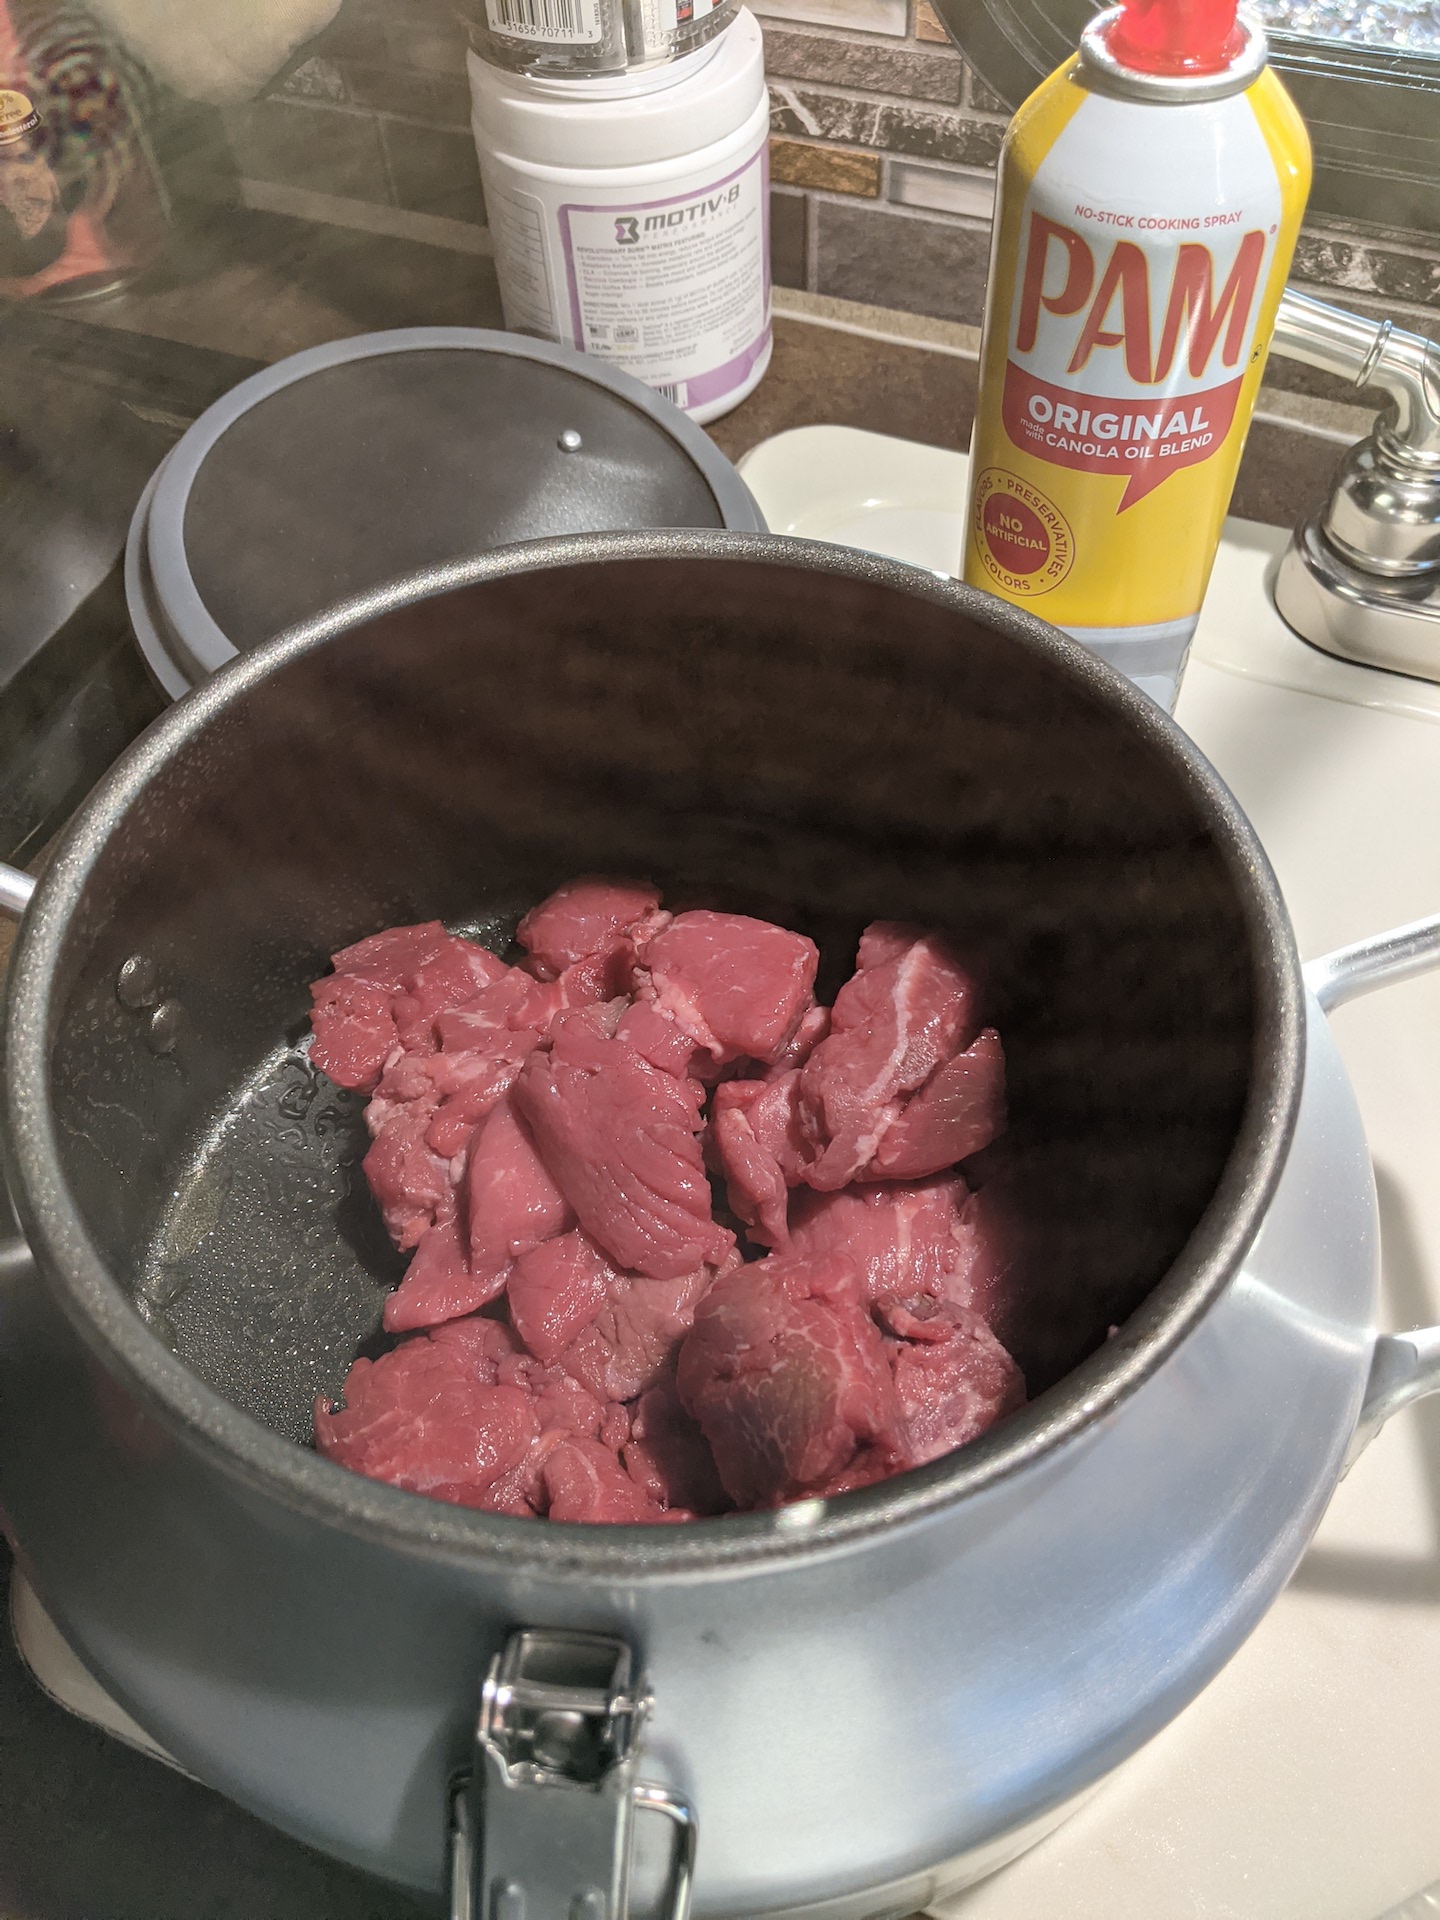
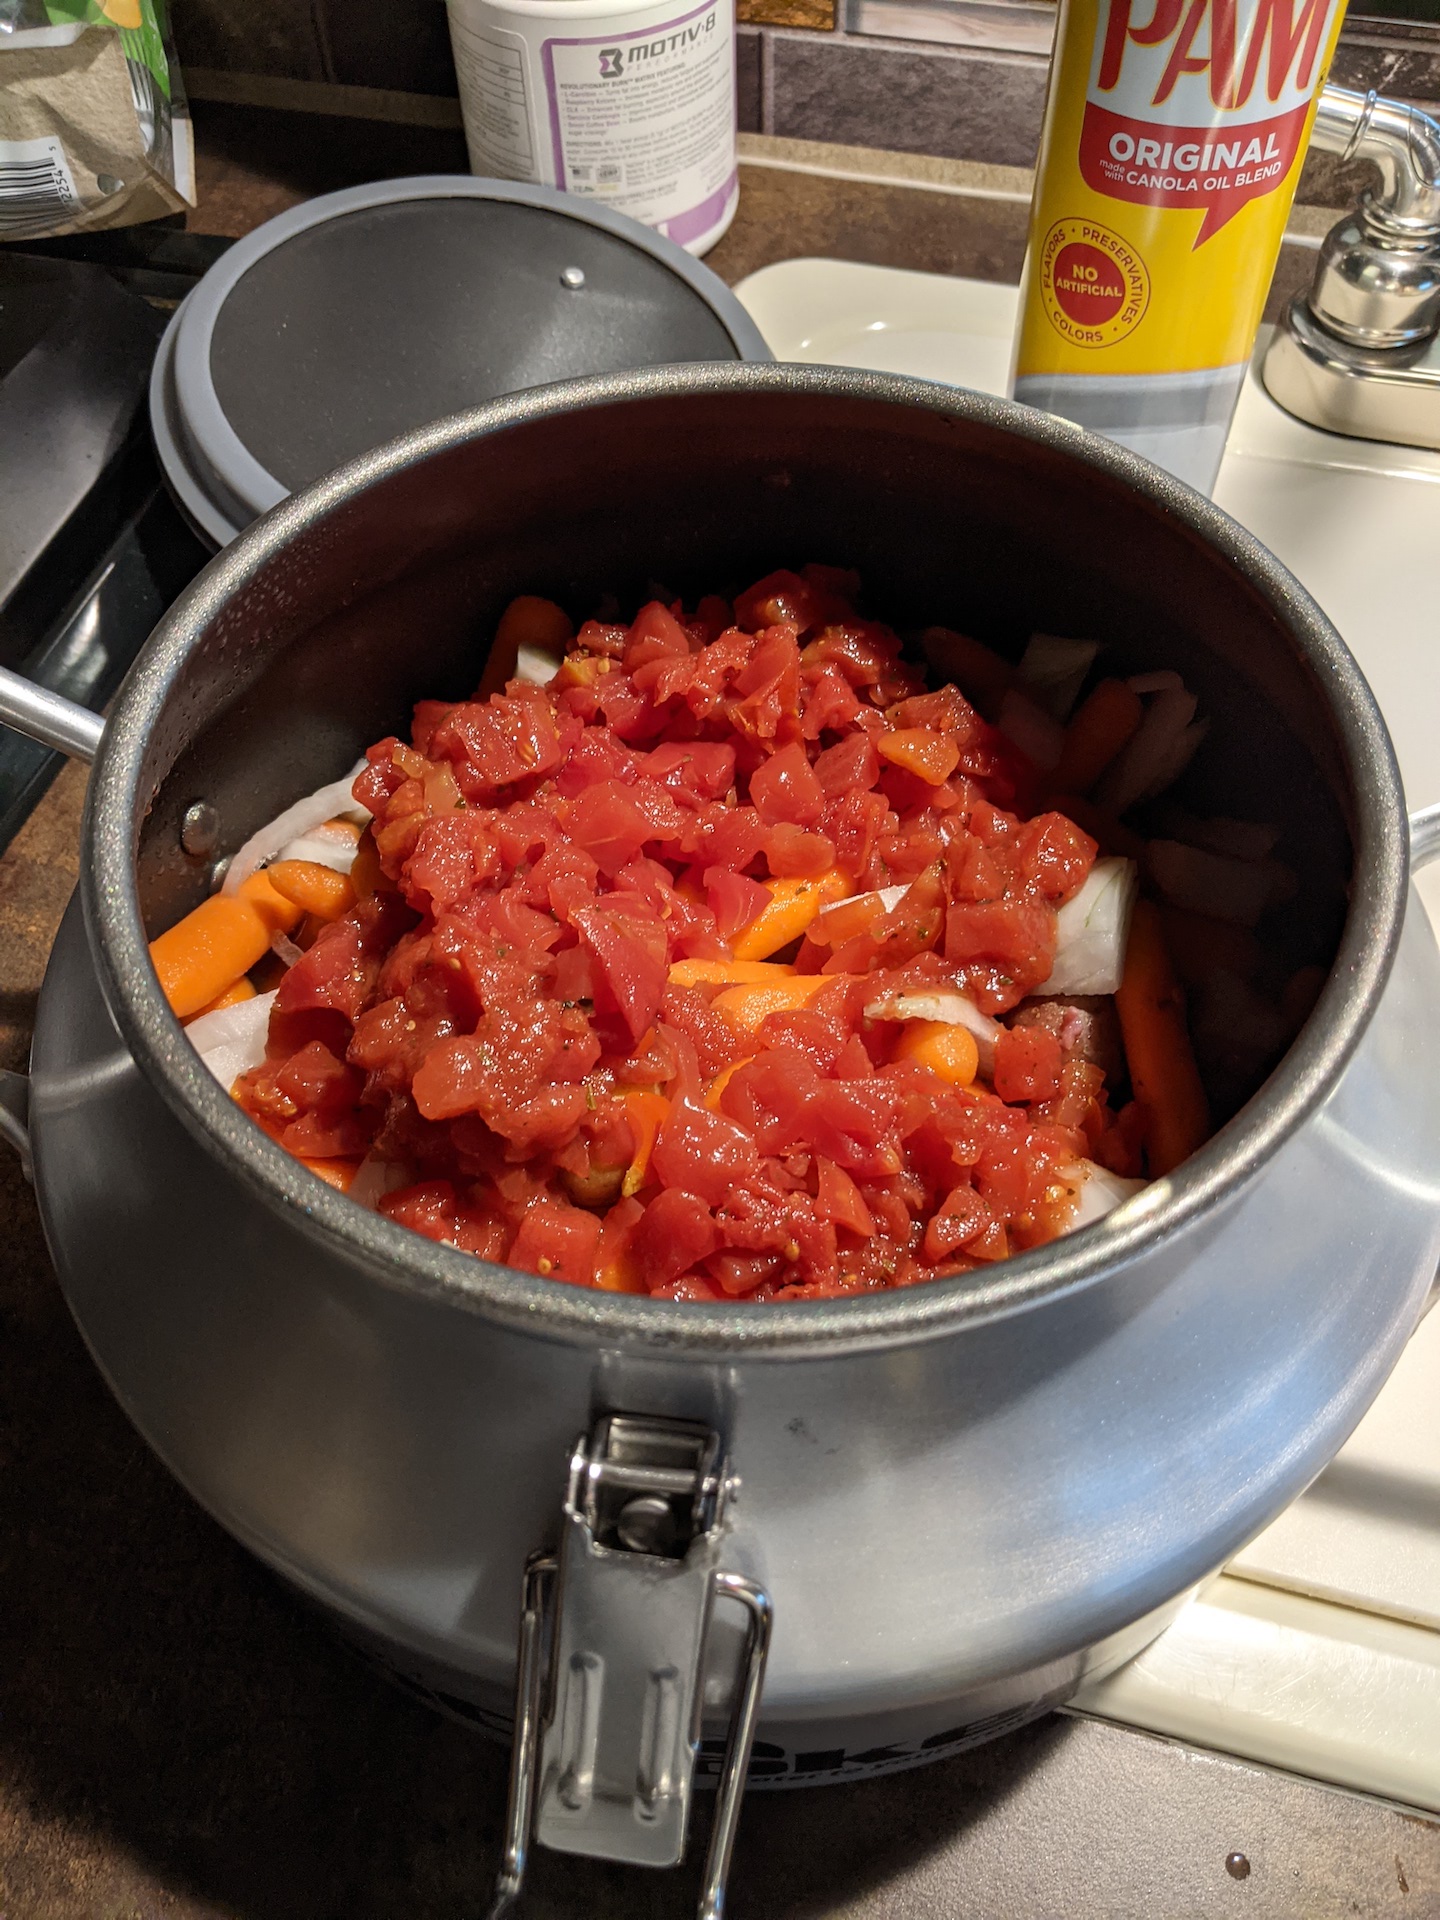
    Spray non-stick cooking spray inside the CanCooker. Add the beef, then the remaining ingredients. Latch lid and cook on medium / low heat for 45 minutes.

    Carefully remove the lid, and let stand for a minute. Stir in a mixture* of water and all-purpose flour to thicken the stew to desired consistency.

    Remove from heat and serve!

    *Mixture to thicken stew: 3 tbsp water and ¼ cup all-purpose flour. 

    Note: You can increase or decrease the amount of ingredients in this recipe but please make sure to use at least 12 oz. of liquid.

    I did not add the mushrooms ( I am not a picky eater, but those things I cannot stand no matter how many times I try them) and instead of thickening with flour I chose to add 1 cup of rice the last 20 minutes of cooking and it turned out great!

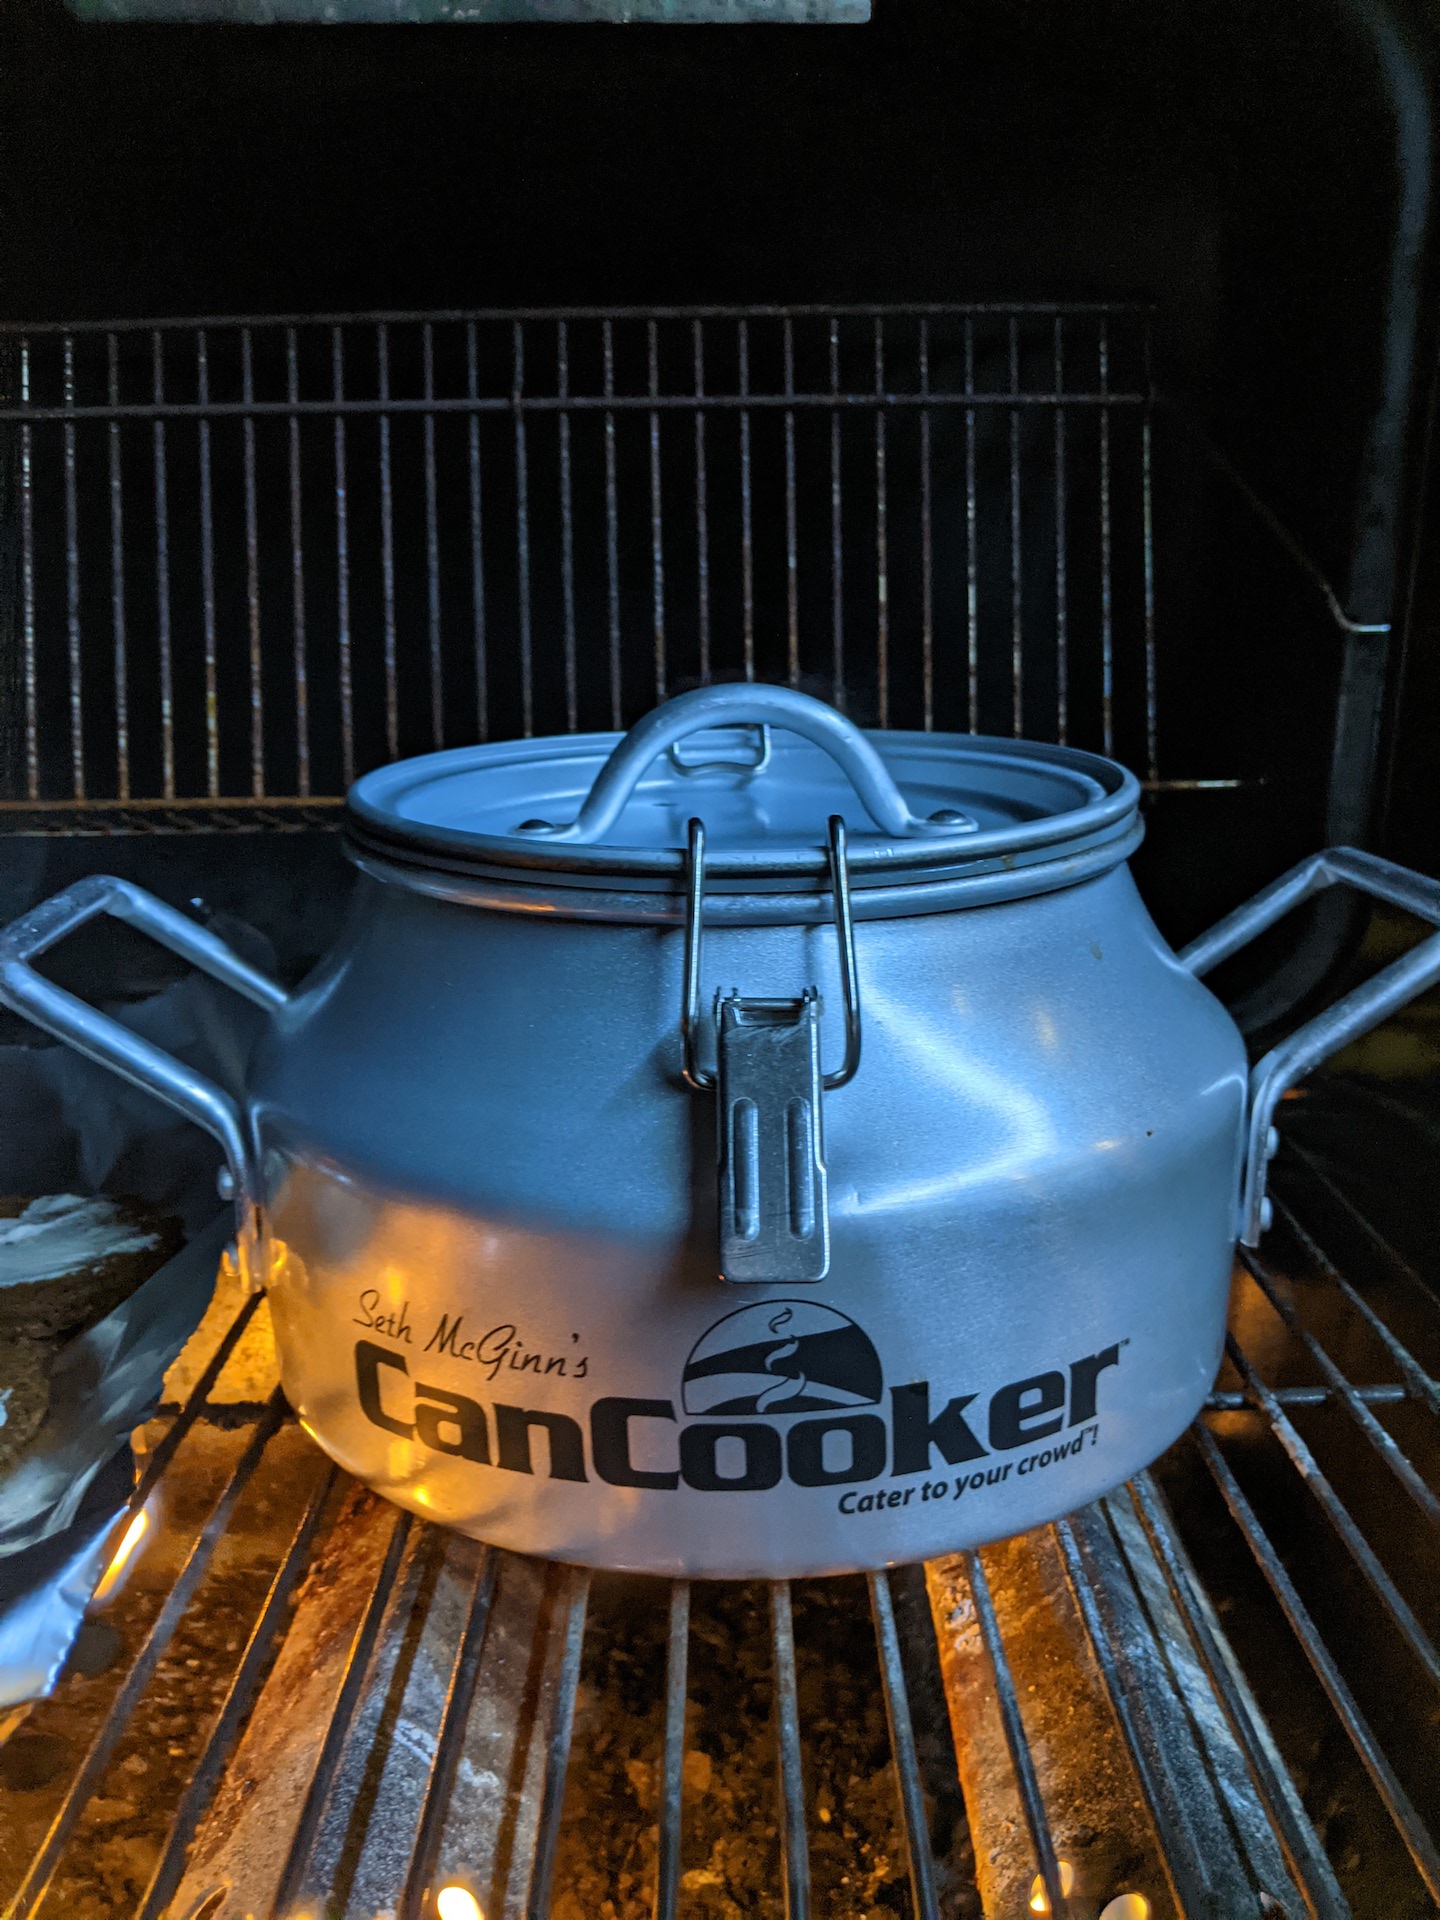
    This was so simple, throw everything in and then on to the grill!

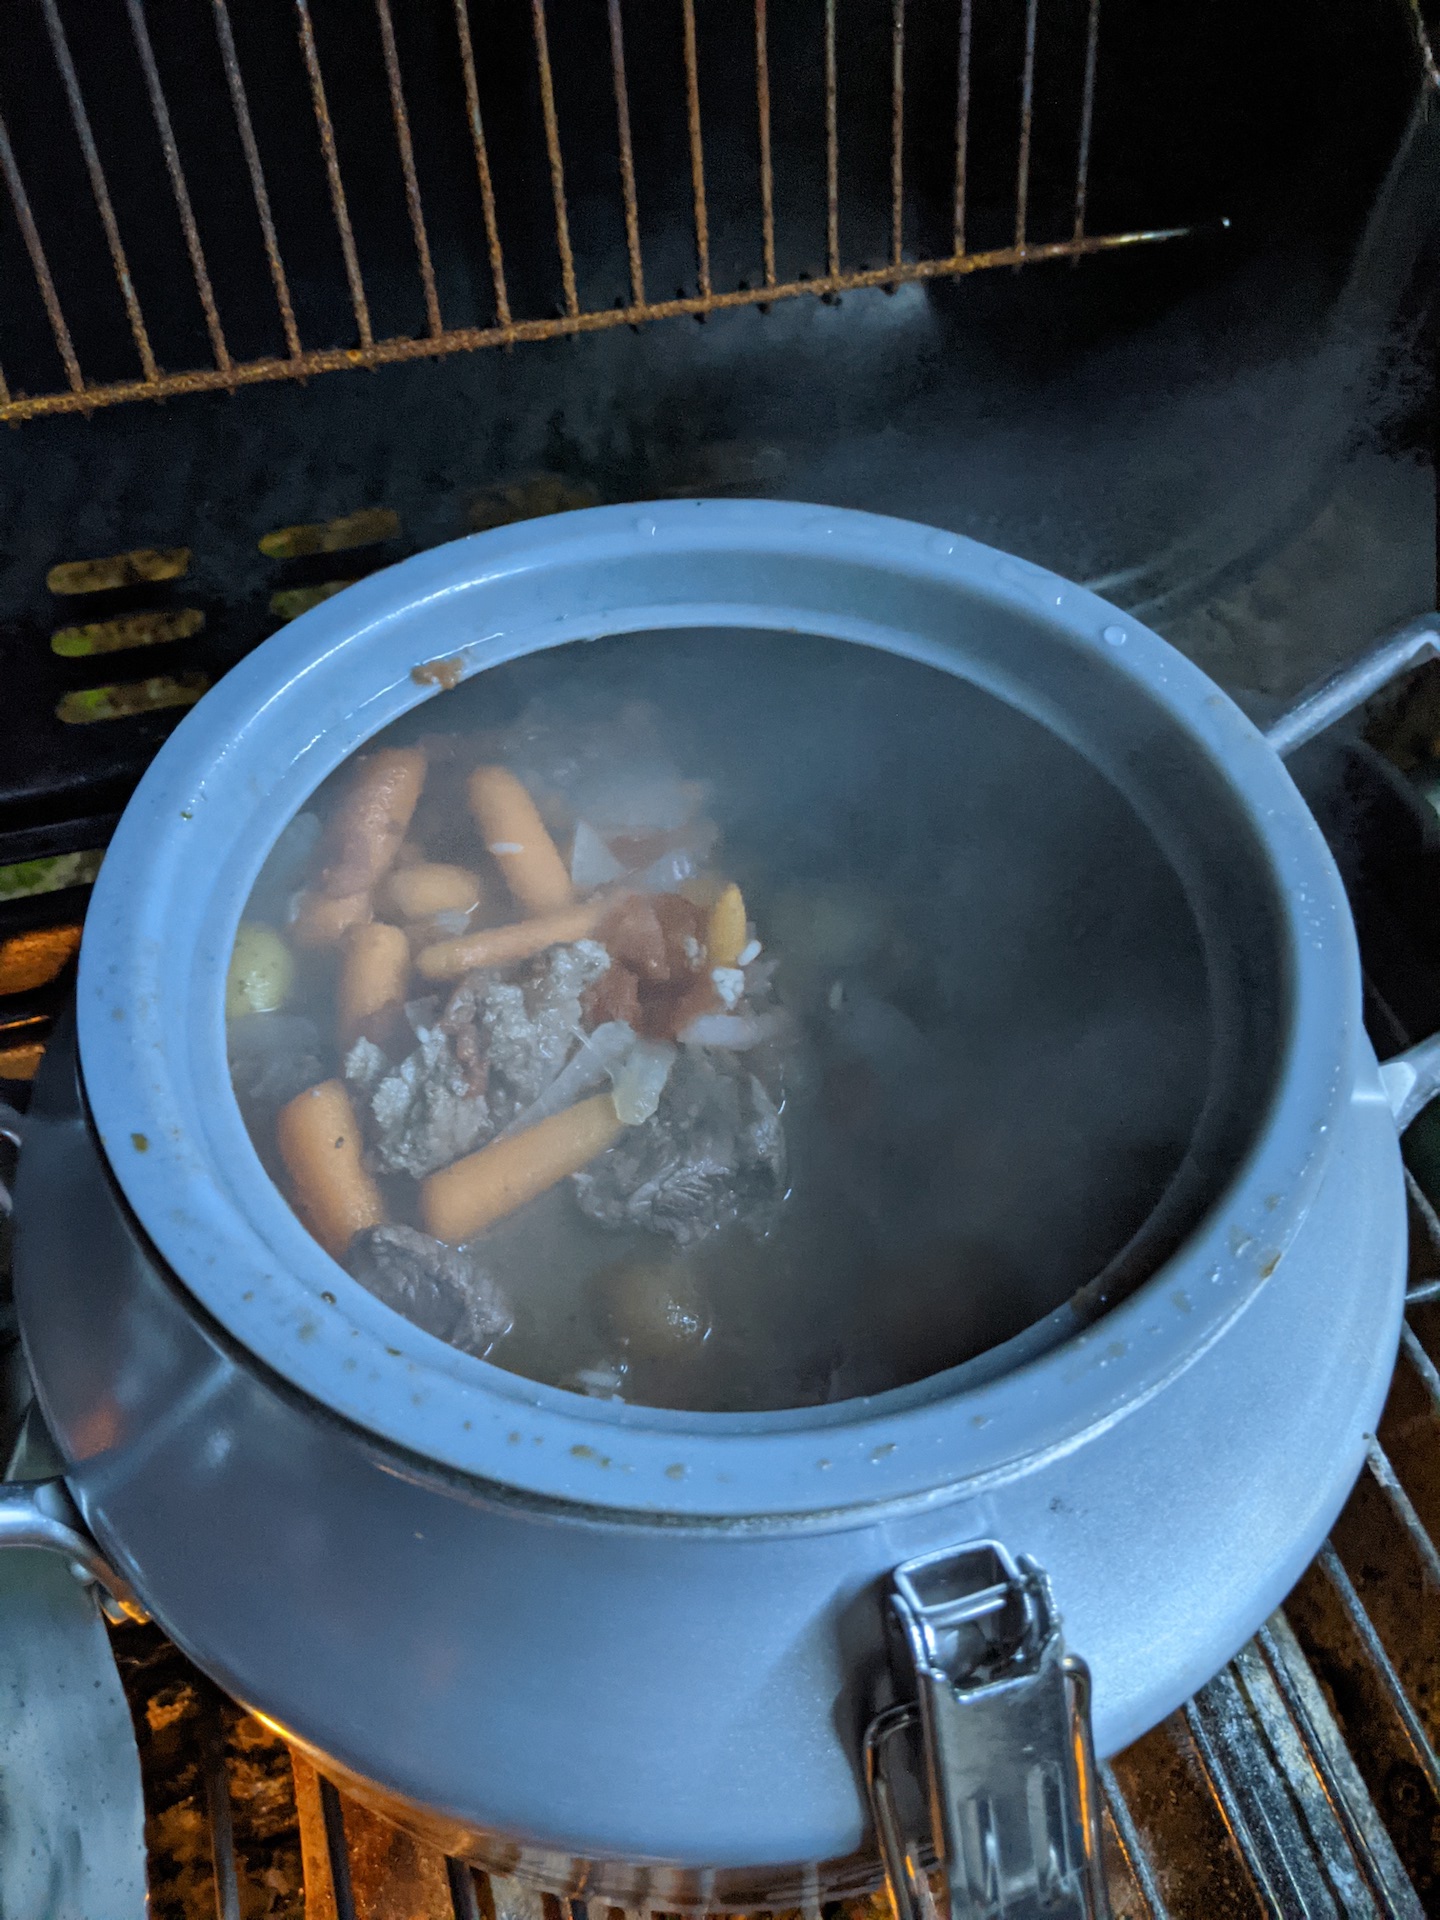
    I placed it on high heat at first then when it started to steam I turned it down so that I could no longer see the steam as per the instructions on the website. after about 25 -30 minutes I added the rice. This is how it looked when I lifted the cover.

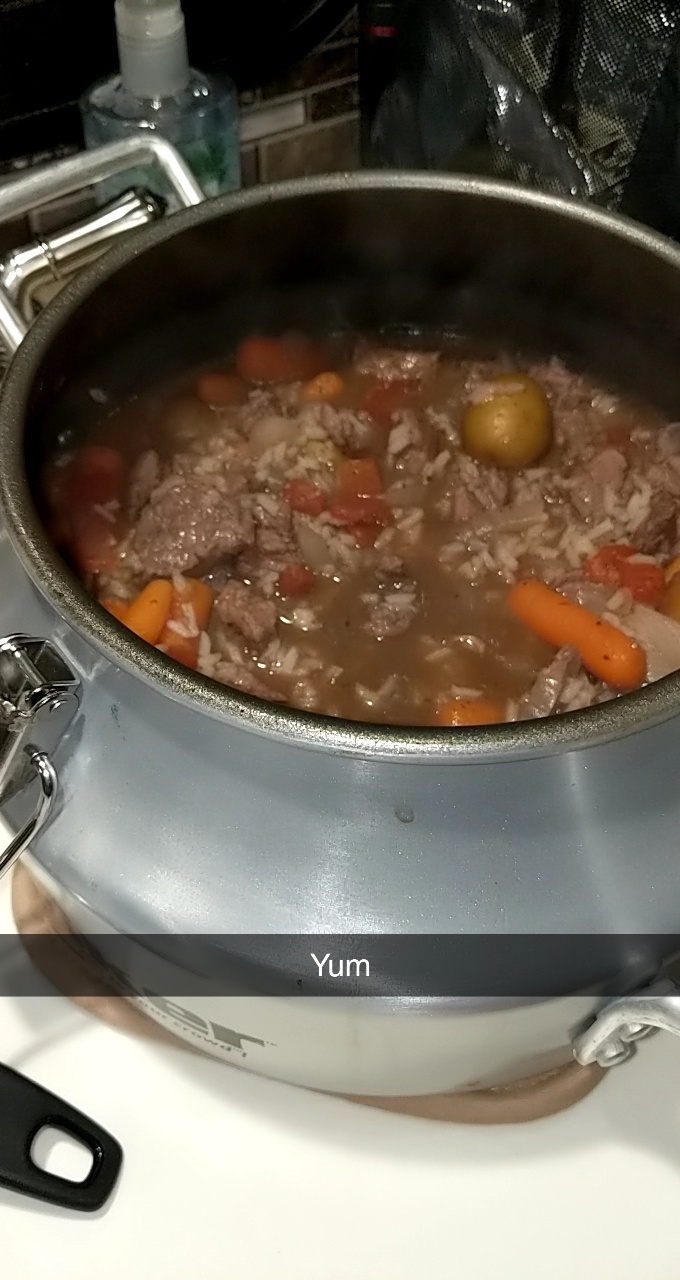
    The finished product….

    Needless to say, we are both stuffed and have a lot of leftovers for tomorrow. Cooking at home is not only healthier and cheaper than eating out it’s great practice. Being able to use the tools you have in the event of a SHTF situation is crucial and should be an important part of your prepping!

    Happy Prepping!

    Maine Prepper Girl

    tactical, shooting, deals, save money, prepping, ammunition, firearms, daily deals

    patreon, banner, logo, survival, preparedness, SHTF, prepper,

  • The “4 Block” DIY Rocket Stove!

    The “4 Block” DIY Rocket Stove!

    Off grid cooking is one of my favorite outdoor activities. It is also a valuable skill to have should the grid go down. There are several commercially made rocket stoves on the market and those I’ve tried worked well.

    Rocket stoves burn fuel incredibly efficiently. Fuel is typically twigs, branches, and other small flammable items. With fuel sources being so readily available rocket stoves are a great option for preppers.

    The video below features a simple and inexpensive design made from commonly available materials.


  • SURVIVAL HACK: Obtaining Propane for Off Grid Cooking On The CHEAP!!

    SURVIVAL HACK: Obtaining Propane for Off Grid Cooking On The CHEAP!!

    Most people have some type of gas grill that operates on normal, everyday 20 lb. prone tanks. When the power goes out the gas grill suddenly becomes very important. Spare tanks are a great thing to have on hand, in quantity. Problem is to buy a new tank, and have it filled – you’re spending upwards of $50.

    Here’s a way to stock up on propane tanks and spend a little less:

    Used propane tanks can be found at yard sales, Craigslist, and on Facebook Marketplace. Prices as low as $5 each are not uncommon. Grab a few used propane tanks and then tank them to your local Walmart or propane service location and get them exchanged/filled.

    It’s important to know that propane tanks have to be recertified every 12 years. This means if you go buy a used tank and it is older than 12 years there is a good chance when you go take it to get filled they’ll reject the tank. If that occurs just take the tank to a grocery store – or Walmart – and exchange it for a newer tank. It is still cheaper than buying a brand new tank and getting it filled.

    I’ve brought up exchanging old out-of-date tanks before and been attacked by “Karen’s” who call this being dishonest and stealing. Let me go ahead throw this out there: An old tank received by the propane exchange company will simply be recertified, painted or wrapped, and then used. No big deal.

    If you are curious – here’s how to read the manufacture date of the tank:

    1. Locate the raised collar at the top of the propane tank.
    2. Find the “MFG DATE.” located along the collar.
    3. The first two numbers represent the manufacturing month, while the second to numbers is the year.

    So there you have. I’ve bought numerous tanks off Facebook Marketplace used and have built a very good supply.

    Happy grill’n!!!

    Rourke